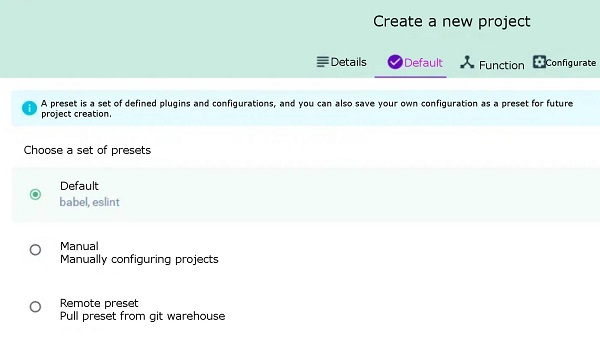
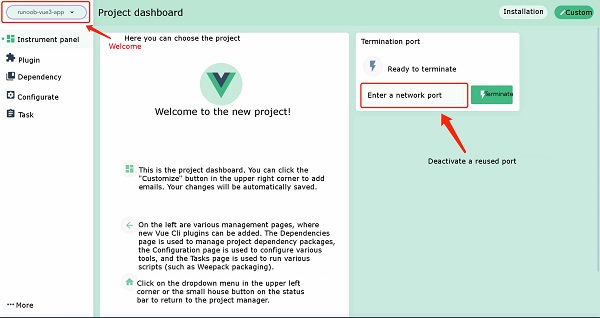
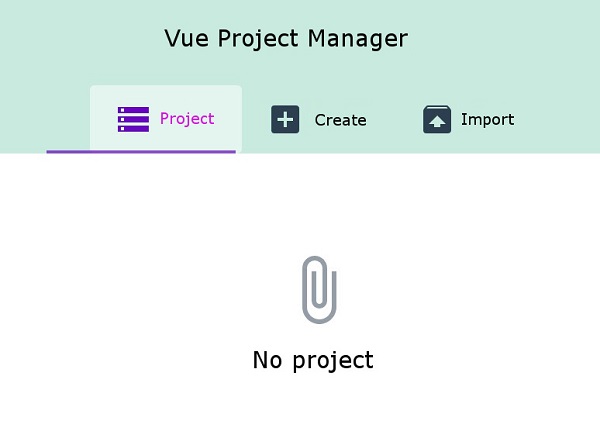
In the previous chapter of Vue3 installation, we used the Vue The syntax format for creating a project with the Vue Create a file created by the The options option can be: Next, we create Executing the above command will bring up the installation options interface: Press the enter key to enter the installation and wait for a moment to complete the installation. After the installation is complete, we enter the project directory: cd runoob-vue3-app2 Launch application: Then open http://localhost:8080/ , and you can see the application interface: In addition to using the Vue Run the command: Execute the above command and a project management interface pops up in the browser: We can click the “create” option to create a project, select “create Project here” at the bottom, and select a path at the top of the page: Then enter our project name, select the package management tool as You can choose the configuration by default: Then wait for the installation to be completed, and the administrative interface for the installation is as follows:
init
command to create a project. In this chapter, we mainly introduce the Vue
create
command to create a project and the use of the Vue
ui
command to open a graphical installation interface. 2.4.1. Vue
create
command 
create
command is as follows:vue create [options] <app-name>
vue-cli-service
new projects to support:
        -p,
        --preset
        <presetName>
:Ignore prompts and use saved or remote preset options
        -d,
        --default
:Ignore prompts and use default preset options
        -i,
        --inlinePreset
        <json>
:Ignore prompts and use inline JSON string preset options
        -m,
        --packageManager
        <command>
:Use the specified when installing dependencies
npm
Client
        -r,
        --registry
        <url>
:Use the specified when installing dependencies
        npm
        registry
        -g,
        --git
        [message]
:Force / skip git initialization and optionally specify initialization submission information
        -n,
        --no-git
:Skip git initialization
        -f,
        --force
:Overwrite the possible configuration of the target directory
        -c,
        --clone
: Use git clone to obtain remote preset options
        -x,
        --proxy
:Create a project using the specified agent
        -b,
        --bare
:Omit the novice guidance information in the default component when creating a project
        -h,
        --help
:Output usage help information
runoob-vue3-app
project:vue create runoob-vue3-app
Vue CLI v4.4.6
? Please pick a preset: (Use arrow keys)
❯ default (babel, eslint)
  Manually select features
npm run serve

2.4.2. Vue ui command 
create
command to create projects, we can also use visual creation tools to create projects.$ vue ui
🚀 Starting GUI...
🌠 Ready on http://localhost:8000
...
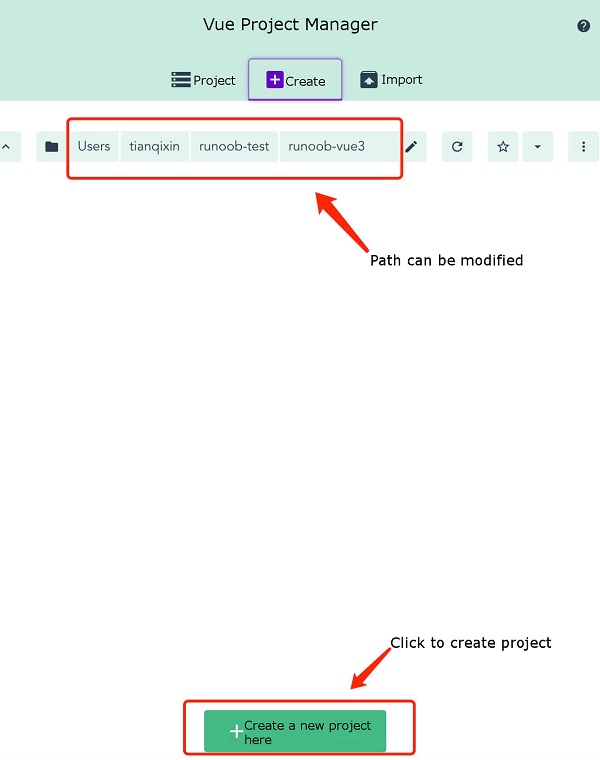
npm
, and click Next: