3.5.1. Install Android SDK 
You can read from the official website Android SDK 下载 Download the latest version of Android SDK. If you install SDK on a Windows machine, you will find an installer_rXX windows.exe file. Just download and run the exe, and the Android SDK tools installation wizard will be launched to guide the entire installation, so you can install Android SDK tools on the machine as long as you follow the instructions to install.
This tutorial assumes that you will install the development environment on the Windows 7 operating system.
So let’s open the options in Android SDK Manager, all programs > Android SDK tools > SDK Manager, and pop up the following window:
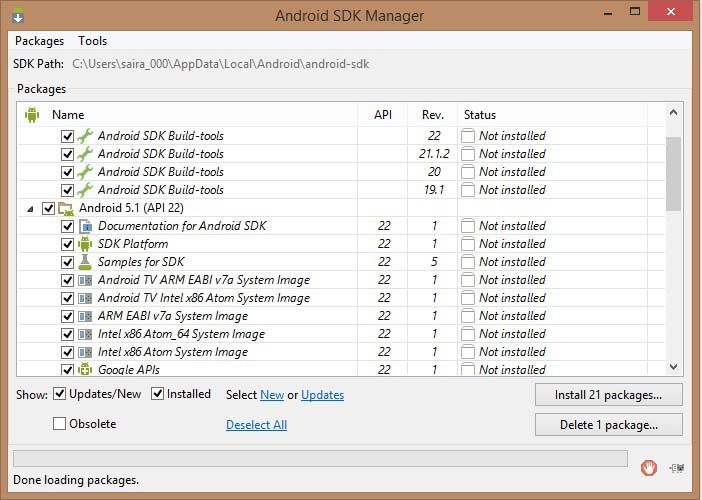
Once you open the SDK Manager, you can begin to install other required packages. By default, it lists the seven packages that need to be installed, but it is recommended that you uncheck the Android SDK documentation and the SDK sample code to reduce installation time. Next, click the install button to display the following dialog box:
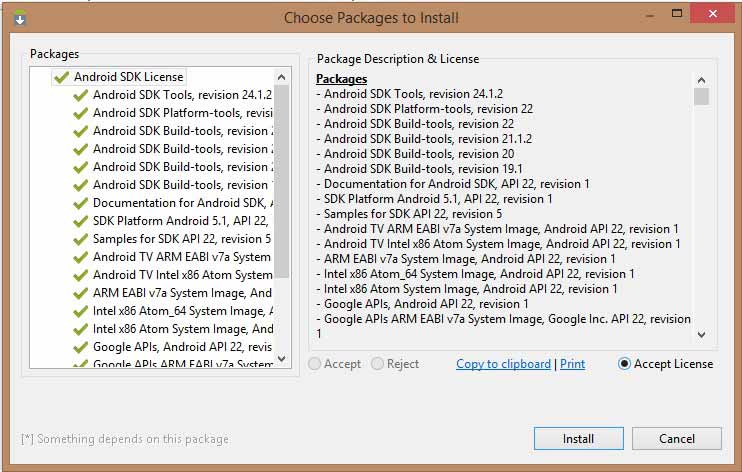
If you agree to install these packages, select the accept all radio button and click the install button. You can then let the SDK manager work on its own until all the packages are installed. This may take some time, depending on your network connection. When all the packages are installed, close the SDK manager through the button in the upper right corner.
3.5.2. Install Eclipse IDE 
All the examples in this tutorial are written in Eclipse IDE. So it is recommended to install the latest version of Eclipse on your machine.
Download the latest Eclipse binaries on http://www.eclipse.org/downloads/ for installation. Once you have downloaded the installation package, extract it to a convenient location. For example, C:eclipse on Windows or / usr/local/eclipse on Linux, and set the appropriate PATH environment variable.
Windows机器上可以通过执行以下命令启动Eclipse,或者简单地双击eclipse.exe。
%C:\eclipse\eclipse.exe
On Linux, use the following command:
$/usr/local/eclipse/eclipse
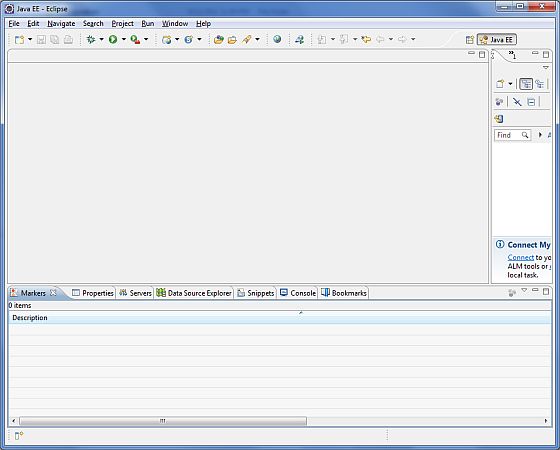
After a successful installation, if all goes well, the following results are displayed:
3.5.3. Install the Android Development tools (ADT) plug-in 
This step will help you install the Android Development tools (ADT) plug-in for Eclipse. Open Eclipse and select help > Software upgrade > install New Software. The following dialog box is displayed:
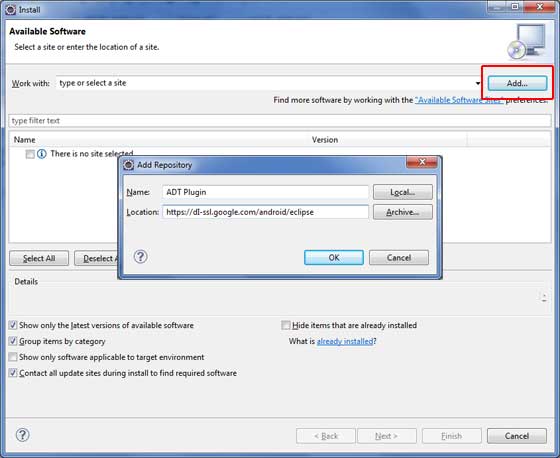
Now use the “add” button to add the ADT plug-in as the name, and fill in the location with https://dl-ssl.google.com/android/eclipse/ . Then click OK to add this location. When you click “OK”, Eclipse starts searching for plug-ins in a given location and finally lists the plug-ins that are found.
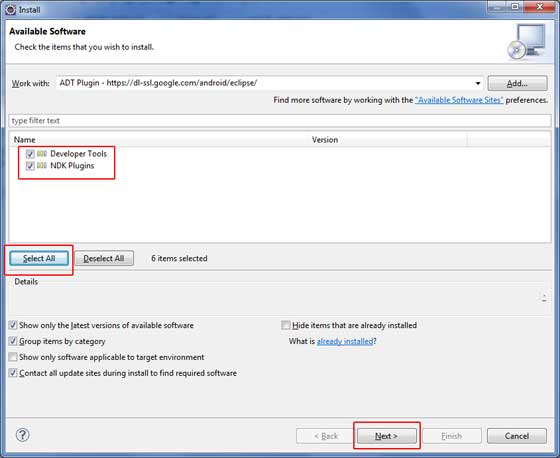
Click “Select all” to select all the listed plug-ins, and click the “next” button to guide you to install ADT tools and other required plug-ins.
3.5.4. Create an Android virtual appliance 
In order to test the Android application, you need a virtual Android device. So before we start writing code, create an Android virtual appliance. Start the AVD Manager from the Eclipse menu item window > Android AVD Manager. Click the “New” button to create a new Android virtual device, and enter the following information before clicking the “create AVD” button.
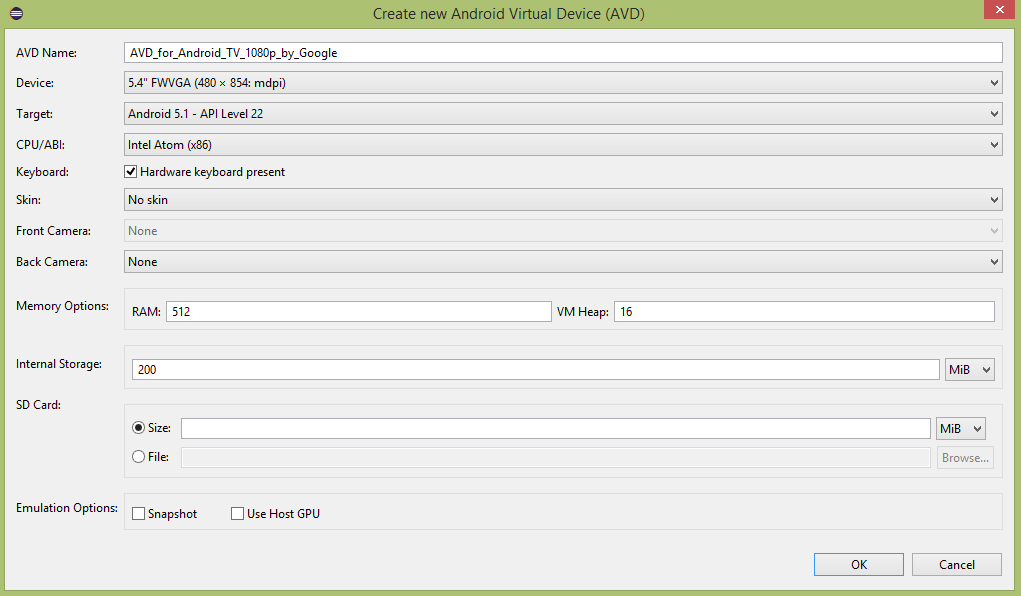
If the AVD is created successfully, it means that your Android application development environment is ready. If you like, close the window through the button in the upper right corner. Finally, restart some computers. When you complete the final step, you are ready to develop your first Android example. But before we do that, we’ll look at some important concepts related to Android application development.