In this chapter, we will introduce Django management tools and how to use Django to create a project. For the first project, we use HelloWorld to command the project.
Test version notes:
Python 3.7.4
Django 3.0.6
7.4.1. Django management tools 
After installing Django, you should now have an available administrative tool django-admin,Windows that can be used with django-admin if you don’t have an environment variable configured.
We can take a look at the command introduction of django-admin:
$ django-admin

Type 'django-admin help <subcommand>' for help on a specific subcommand.

Available subcommands:

[django]
    check
    compilemessages
    createcachetable
    dbshell
    diffsettings
    dumpdata
    flush
    inspectdb
    loaddata
    makemessages
    makemigrations
    migrate
    runserver
    sendtestemail
    shell
    showmigrations
    sqlflush
    sqlmigrate
    sqlsequencereset
    squashmigrations
    startapp
    startproject
    test
    testserver
……省略部分……
7.4.2. Create the first project 
Use django-admin to create a HelloWorld project:
django-admin startproject HelloWorld
After the creation is complete, we can view the directory structure of the project below:
$ cd HelloWorld/
$ tree
.
|-- HelloWorld
|   |-- __init__.py
|   |-- asgi.py
|   |-- settings.py
|   |-- urls.py
|   `-- wsgi.py
`-- manage.py
Catalog description:
HelloWorld: The container for the project.
manage.py: A practical command line tool that allows you to interact with the Django project in a variety of ways.
HelloWorld/__init__.py: An empty file that tells Python that the directory is a Python package.
HelloWorld/asgi.py: A portal to an ASGI-compatible Web server to run your project.
HelloWorld/settings.py: The settings / configuration of the Django project.
HelloWorld/urls.py: The URL statement of the Django project; a website “directory” driven by Django.
HelloWorld/wsgi.py: A portal to a WSGI-compatible Web server to run your project.
Next, let’s enter the HelloWorld directory and enter the following command to start the server:
python3 manage.py runserver 0.0.0.0:8000
0.0.0.0 allows other computers to connect to the development server, with 8000 as the port number. If not, the port number defaults to 8000.
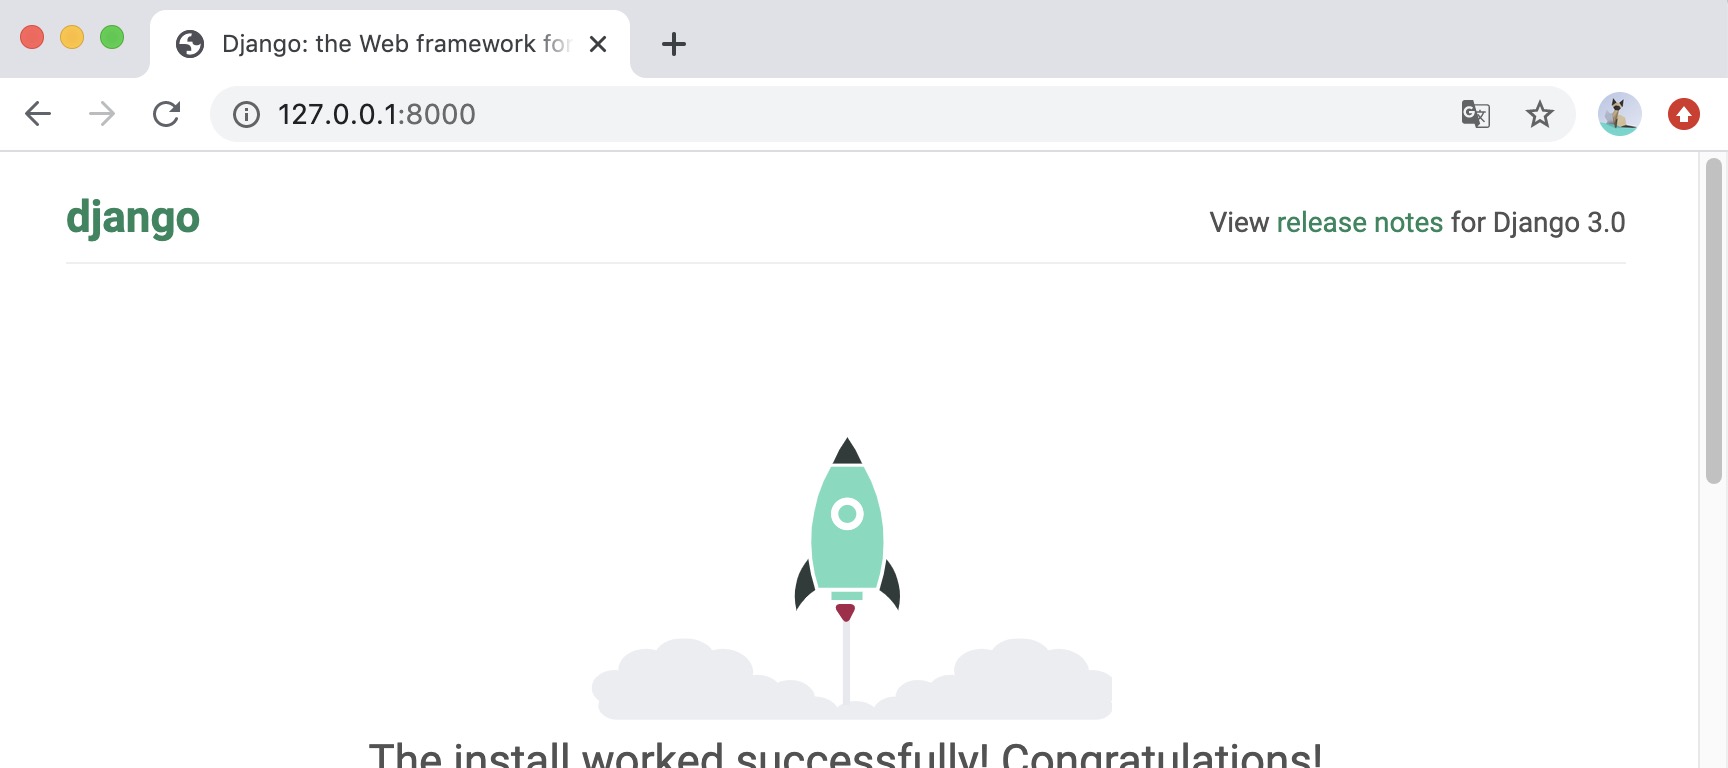
Enter the ip of your server in the browser (here we enter the local IP address: 127.0.0.1:8000 ) and port number. If it starts normally, the output result is as follows:
7.4.3. View and URL configuration 
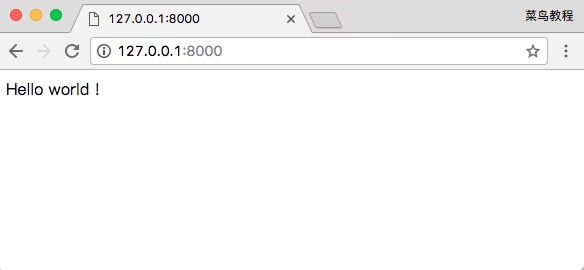
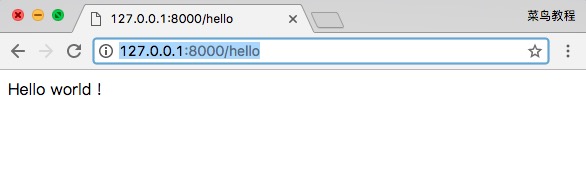
Create a new views.py file in the HelloWorld directory under the previously created HelloWorld directory, and enter the code: Next, bind the URL to the view function. Open the urls.py file, delete the original code, and copy and paste the following code into the urls.py file: The whole directory structure is as follows: When you are finished, start the Django development server, and open the browser in the browser and visit: We can also modify the following rules: Open it through a browser http://127.0.0.1:8000/hello The output is as follows: 注意: If the code changes in the project, the server will automatically monitor the code changes and reload automatically, so if you have started the server, you do not need to restart manually.HelloWorld/HelloWorld/views.py file code: 
fromdjango.httpimportHttpResponsedefhello(request):returnHttpResponse("Hello
world !")
HelloWorld/HelloWorld/urls.py file code: 
fromdjango.conf.urlsimporturlfrom.importviewsurlpatterns=[url(r'^$',views.hello),]
$ tree
.
|-- HelloWorld
|   |-- __init__.py
|   |-- __init__.pyc
|   |-- settings.py
|   |-- settings.pyc
|   |-- urls.py              # url 配置
|   |-- urls.pyc
|   |-- views.py              # 添加的视图文件
|   |-- views.pyc             # 编译后的视图文件
|   |-- wsgi.py
|   `-- wsgi.pyc
`-- manage.py
HelloWorld/HelloWorld/urls.py file code: 
fromdjango.urlsimportpathfrom.importviewsurlpatterns=[path('hello/',views.hello),]
7.4.4. Path () function 
Django path () can accept four parameters, two required parameters: route, view, and two optional parameters: kwargs, name.
Syntax format:
path(route, view, kwargs=None, name=None)
Route: a string that represents the URL rule, and the matching URL executes the corresponding second parameter, view.
View: used to execute URL requests that match regular expressions.
Kwargs: the parameter of the dictionary type used by the view.
Name: used to get URL in reverse.
Django2. The re_path () method can be used in 0 to be compatible with the url() Method, some regular expression rules can also be implemented through re_path ().
from django.urls import include, re_path

urlpatterns = [
    re_path(r'^index/$', views.index, name='index'),
    re_path(r'^bio/(?P<username>\w+)/$', views.bio, name='bio'),
    re_path(r'^weblog/', include('blog.urls')),
    ...
]